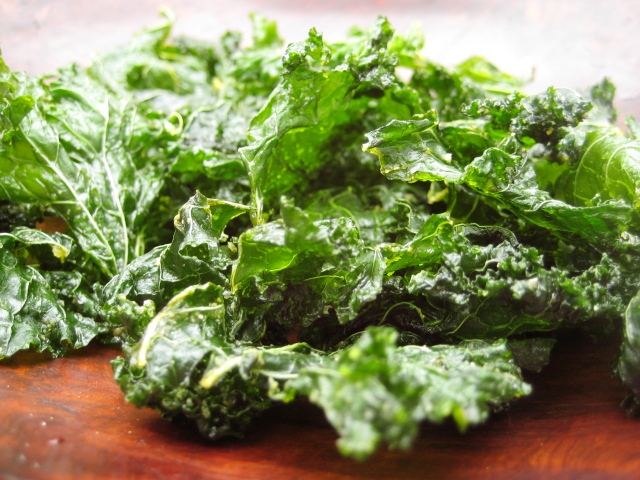
Want a snack that doesn’t sabotage your healthy intentions? Here’s your cure: seasoned kale chips. These little delights are salty, crunchy and utterly addicting. Addicting is good because kale chips are stuffed with nutrients, vitamins, fiber, protein, calcium and iron.
Eat your greens? Heck yeah!
Now you have a couple of choices. You can purchase kale chips at the store (to the tune of $5 per pathetic handful). Or purchase a fresh bunch for about $2 and make your own. It’s sooooo easy you’ll shake your head in disbelief.
How To Make Seasoned Kale Chips
- Wash and dry a LARGE bunch of kale.
- Remove leaves from the stems and tear into chip-sized pieces.
- Place into a large mixing bowl. (Kale gets rather voluminous so you may want to do half at a time.)
Add:
- 1 1/2 teaspoons sea salt (Salt free ideas)
- 3 tablespoons virgin olive oil
- juice from one lemon
- 1 tablespoon garlic powder
- 1 tablespoon onion powder
- Optional: 1 1/2 teaspoons coriander
Toss with your hands until all the kale is coated and slightly wilted. Place in a food dehydrator on 115 degrees for 12-14 hours (I cook it overnight) until thoroughly crispy.
A note on dehydrators. Ours is new. I’ve wanted a dehydrator for years and finally, after some research, we pulled the trigger. We found many variations on the theme and the price for a home version seemed to range from about $40-$225.
There were some that I thought looked pretty sleek. This one is from L’Equip:
It came with the usual mix of reviews although most of them were in the “raving” category. L’Equip runs $119 on Amazon. Click for more info.Then come back. 😉
Since this was our first experience with a dehydrator we opted for a less expensive model with the rational that if we grow out of it, we’ll upgrade. So we picked one that seemed straight-foward and affordable. Plus it included some fun extras like a fruit roll drying tray and a jerky gun. (I thought the whole jerky gun concept sounded rather QVC but, why not?) It was all a big experiment.
Verdict? Love it! We’ve been going to the farmers’ market and drying everything we can get our hands on and so far we’ve been extremely pleased. We ordered ours from Amazon for just under $60. Go here to check it out or do the same.
If you don’t have a dehydrator, an oven set on “warm” around 100 degrees may be another option. I say “may” because I’ve never tried this in an oven although I’ve read about it. My guess is that 115 degrees of steady, dry heat is what does it–and that can originate from a dehydrator or an oven. Your call.
Back to the kale chips.
Your kale chips will shrink in size dramatically after dehydrating. You may be thinking, 12 hours!?! Holy cow…that’s a long time for a recipe! It is. But it’s worth it. There are recipes for drying kale chips at a higher setting, untreated, for a just a couple of hours. But you’ve read this far because you want the addicting kale chip version. Remember? 🙂


September 28, 2011 at 1:03 pm
In your research did you come across any way to make Kale chips without using a dehydrator?
September 28, 2011 at 1:41 pm
@Amy If you have an oven with a “warm” setting that runs about 100-125 degrees you can use that. I would check the kale chips a little more often though just to be on the safe side. I mention the oven option near the end of the post. 🙂 Maybe don’t treat the chips (just wash them) and dry them in the oven for a faster result? Just brainstorming for you here. The oil slows the drying down. But it is tasty! Good luck!!
October 2, 2011 at 2:39 pm
Kale chips are totally addicting! Especially with a little garlic powder — mmm…I usually bake my kale chips at 300 degrees for about 15-20 minutes, or until crisp…I love the raw dehydrated chips too, but we don`t have a big enough dehydrator. Thereas
October 3, 2011 at 10:13 am
I love how snacking on kale chips thwarts the desire for those snacks that usually last waaaay longer than any of us want…usually in the “filling out the jeans” category. They’re so tasty the health benefits are really secondary. @IslandVittles (Thereas) Thanks for offering up experience with the oven version! Very helpful.